Since I am taking some time off to enjoy our new baby boy, I thought I would re-post one of my favorite fall tutorials from last year. I know a bunch of you are new to the blog (thanks so much for joining us), so you might have missed this one. This is a really easy and inexpensive fall project, but I just love the end result!It's really starting to feel like fall here in the Midwest. We still have our occasional warm day, but for the most part fall is upon us. Fall is my favorite time of year with all the fun festivals, pumpkin patches, apple orchards.......I truly value the beautiful seasons each year.
Since it finally feels like fall, I think it's time to get out some decorations for around the house. I wanted to make something for our home that tied in with the season as well as our decor. Though I tend to use bright colors in my clothing design, my home is decorated in more rich tones....think deep red, green, mahogany and cherry wood. I came up with these chubby fabric pumpkins and can't wait to put them around the house. I thought you might like to make some too.........so here's the "how to":
Fabric Pumpkin Tutorial
Supplies:
Fabric pieces - variety of sizes
2 pieces of brown felt
1 piece tan felt
Fiberfill or other stuffing material
Brown embroidery floss
Thick twine
Hand-sewing needle
Sewing Machine
Decorative wire berries (optional)
Directions:
Gather your fabric. I found these upholstery fabric samples at Joann's for $2.00 a piece. They were discontinued special order fabrics. I decided to use decorator fabric because I love the variation in textures and designs, but you could definitely used quilting cotton for this project if you would prefer.
Cut your fabric. I wanted my pumpkins to be all different sizes since no two pumpkins are ever the same. Here are some of the measurements I used:
17.5" x 10"
17.5" x 12"
12" x 6"
12.5" x 7.5"
17" x 13"
Basically you are looking to cut out a rectangle shape.
Fold your rectangle, right-sides together. Stitch down the long-side (side to the right) with a regular straight-stitch. Then run a gathering stitch around the top and the bottom (leaving the top and bottom OPEN). Turn right-side out.
Pull the bobbin thread to start gathering one of the ends. Work the gather until you have pulled it as closed as possible. If you are using regular cotton this will be much easier. If you are using decorator fabrics, this can take some time. You may also consider hand-sewing a large straight stitch with embroidery floss and using that to gather instead of your machine (my thread broke on one of my pumpkins). Either way will work.
This is as tight as I could pull my bobbin thread with the upholstery fabric. Tie your thread ends together and turn it in-side out again.
Place the gathered end in your sewing machine and stitch to close. You will have to kind of jam the fabric under the foot as it is very thick, but don't worry, your machine can handle it. You may also choose to hand-sew the opening closed with embroidery floss.
Next fill your pumpkin with fiberfill or whatever type of stuffing you have on hand.
Once you have stuffed your pumpkin, pull the bobbin thread from your other gathering stitch to begin to close the opening.
Close the opening entirely by hand-sewing.
Take your twine and wrap it around the pumpkin (very tightly). Do this as if you were wrapping a present. Loop it around, then cross-over, around and cross-over. You will cross-over at the top and bottom of the pumpkin. Go back and forth until you have 6-8 sections on each pumpkin. Finish by simply tying in a knot.
You may need to slide the twine around until you have even look sections - just work it until you like the look.
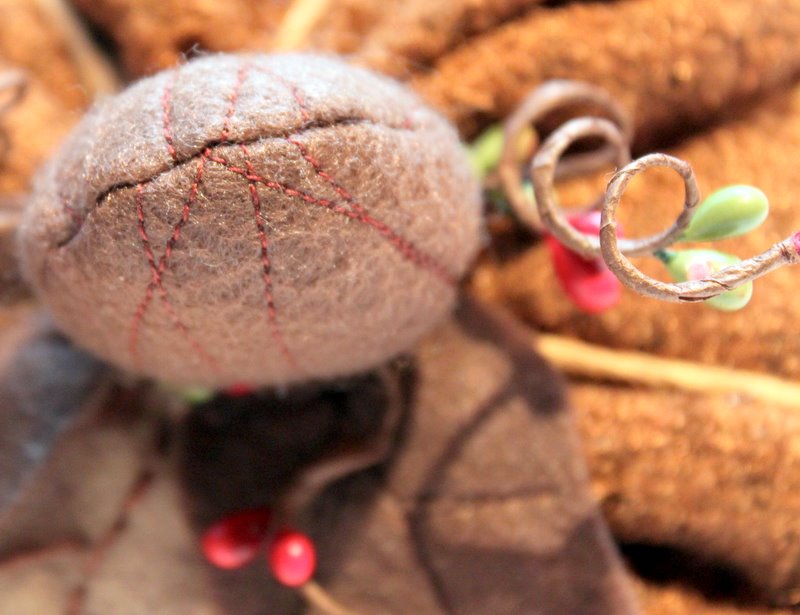
Next you will need to make your stems and leaves. I made each stem a different size, so just cut out whatever shape you like from your brown felt. I also machine stitched on top of the felt to add some texture. Place both stem pieces together (right-sides together) and stitch around the curve (leave the straight-side open). Turn right-side out.
Suff your stem with fiberfill.
Cut out two to three leaves per pumpkin. I did mostly brown leaves and a couple tan ones. Again, I machine stitched veins onto the brown felt with brown thread. This is your opportunity to be creative......cut your leaves out in any shape or size that you like. Mine were all different.
Next hand-sew your stem and leaves to the top of each pumpkin. There is no special technique here. Just place the leaves where you like and stitch away.
You can certainly skip the stitching on the stem and the leaves, but I think it adds a more realistic feel to the pumpkins.
For a final finishing touch, I took a bunch of deep red and green berries and added them to the top of each pumpkin. This was just one bunch that I purchased at Joann's. I cut the bunch apart and wrapped two wire pieces around each stem. To make the curls, wrap the wire around a pen or pencil.
On a couple of the tan leaves, I hand embroidered some detail. I like the contrast between the tan leaves and the brown ones. You could hand-embroider all of the leaves or machine-stitch all of them......again, it's up to you.
And there you have it - a family of festive fall fabric pumpkins!
They are just so cute, don't you think? I could just squeeze them! Well, I won't, but my daughter Savannah already did......she gave each one a hug and said, "I love you pumpkins!".
Happy Fall!