
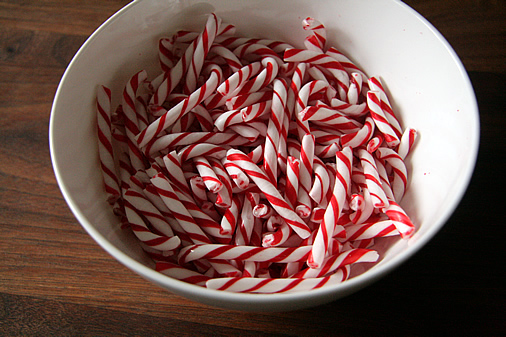
Step 1: Get Candy Canes. :) I prefer the red + white ones. :)
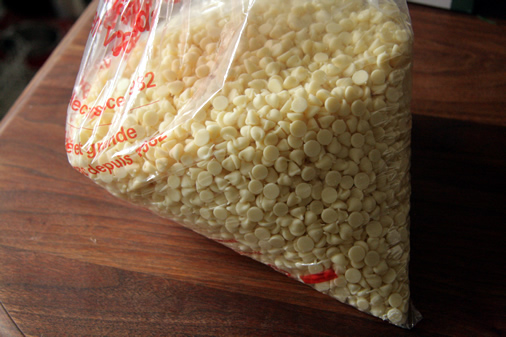
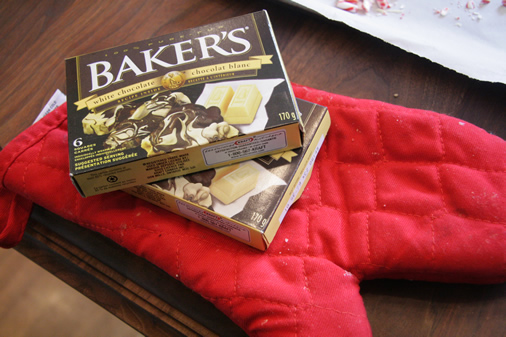
Step 2: Buy White Chocolate. I started with white chippits from the Bulk store (Bulk Barn in Canada) However, do read on, as I wouldn't recommend them.
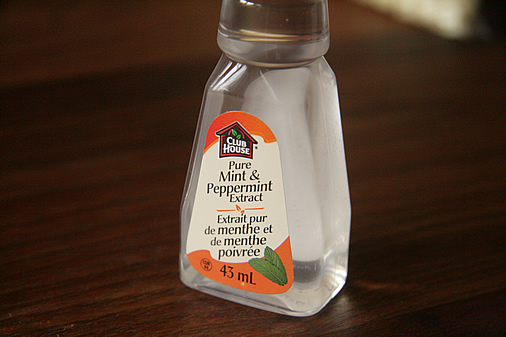
Step 3: Buy Pepermint Flavouring
Step 4: Put the candy canes in a zip lock back and go to town! :)

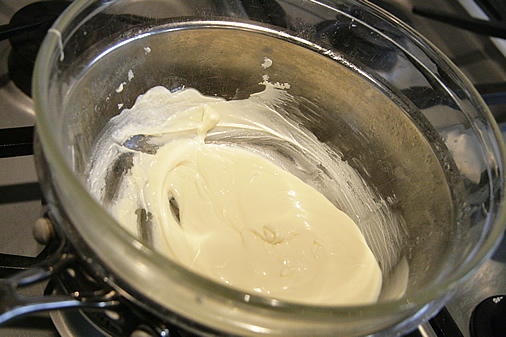
Step 5: Double Broil the Chocolate - I do this for the best consistency (no burning of the chocolate) However, the white chippits, although they look like they are melting, didn't work so well. It turned out like cookie dough batter, and was giving me a panick attack!
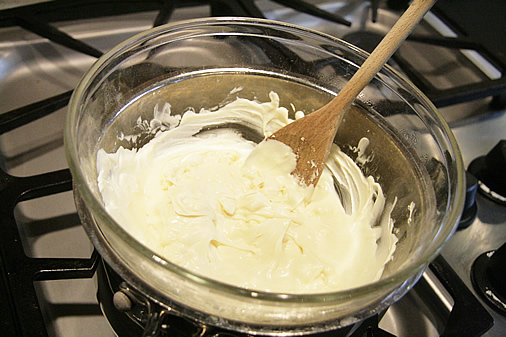
Step 6: Mom saves the day. My Mom ran out and go us Baker's white chocolate while I manned the kitchen. They worked PERFECTLY.
Step 7: Melting a sucsess! It was MUCH runnier and a whole lot better. :) I pour in a little peppermint flavouring at this stage, just to make it that much more flavourful. Add per your taste. :)
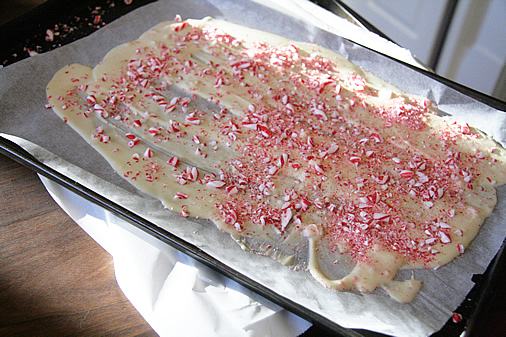
Step 8: Spread the melted chocolate on parchment paper and then sprinkle candy canes on the still warm chocolate. Put in fridge and let cool. I suggest 15-20 minutes.
Step 9: When cooled, break apart candy cane and place in bags!
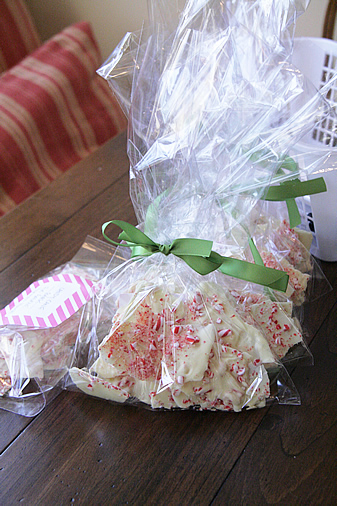
I'll post an update to how we package them this year, as it will be different than the celophane bags. :) Enjoy!


0 comments:
Post a Comment