Saturday, September 25, 2010

{ The Country Living Fair 2010 }

Posted by Head Fly at 3:37 PM 0 comments
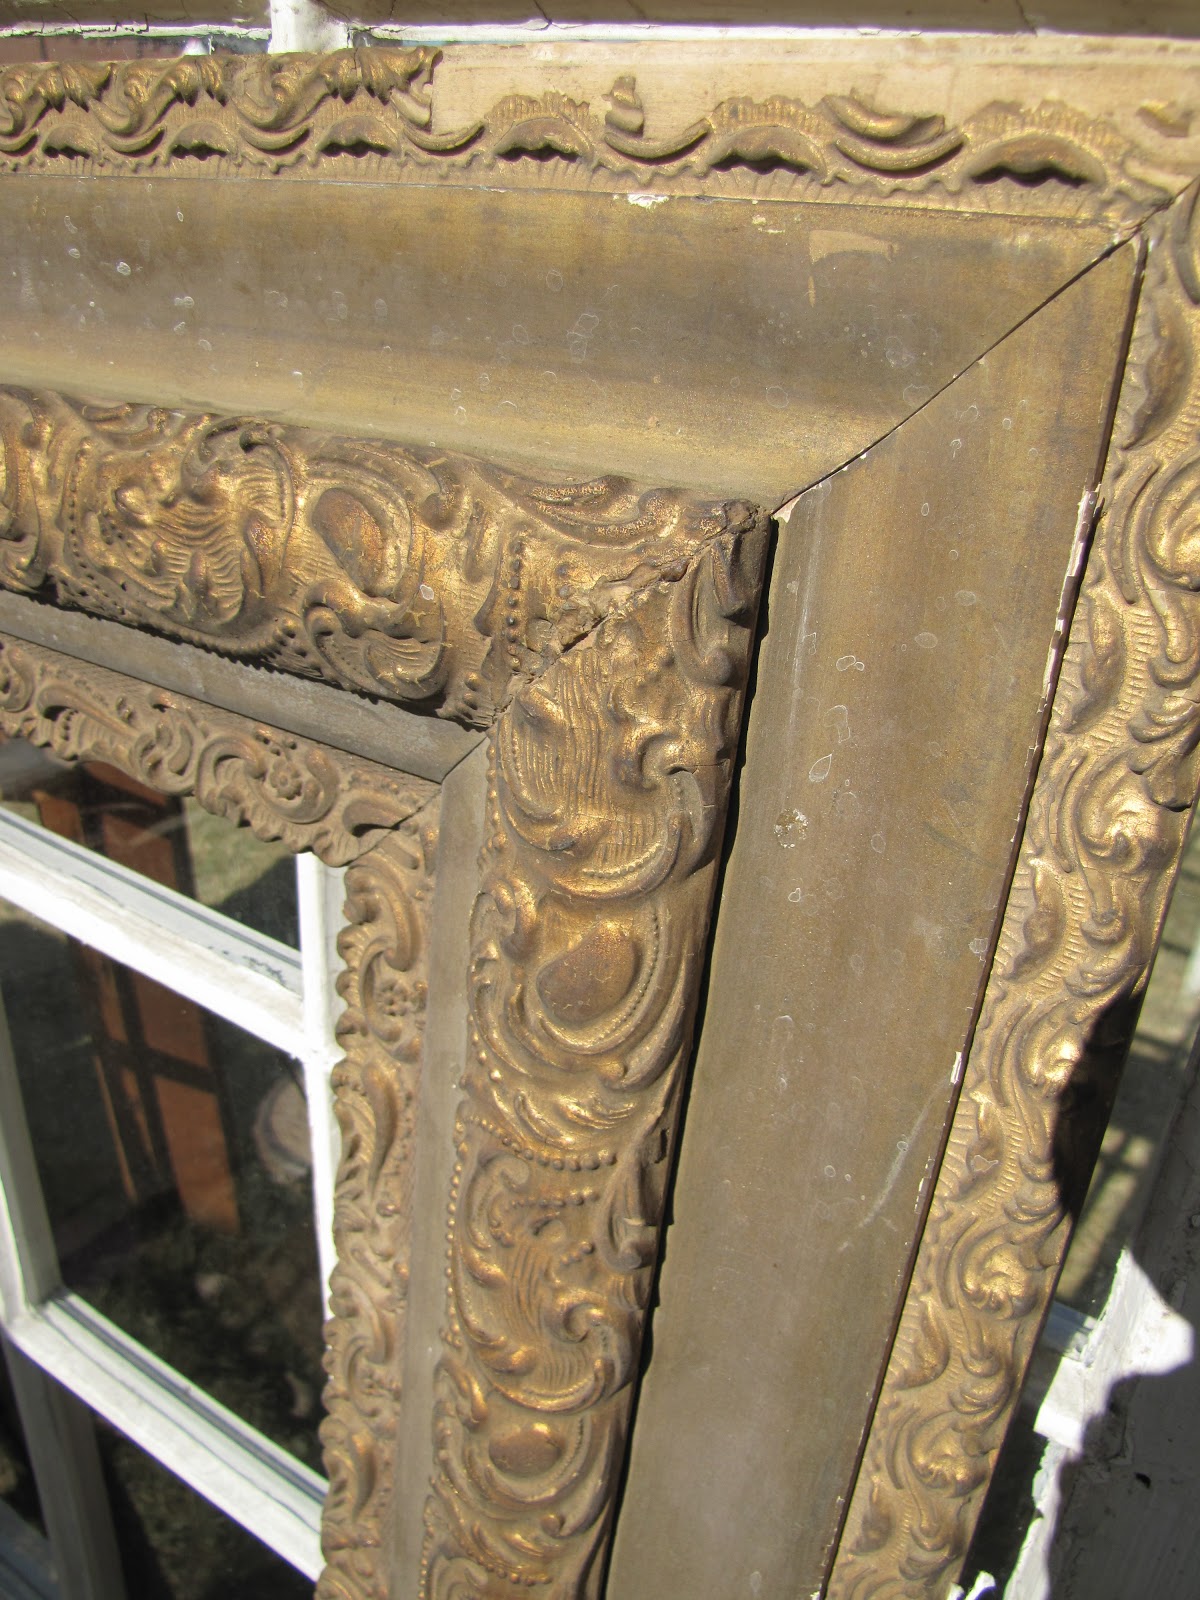
eye candy from the 
Country Living Fair


the rush to get in


even the porta-a-pots
were cuties


we're having such a great time,
it's definitely going to become an annual tradition!

Friday, September 24, 2010

The Creative Connection Event 2011

Posted by Head Fly at 1:00 PM 0 comments

So I really wanted to attend this years Creative Connection Event, but it just didn't happen......and in retrospect, I just don't think I was ready.  But next year, I will be there......no doubt about it!  They just announced next years dates, so mark your calendar for 2011!  

The Creative Connection Event is all about bringing together creative women.  You don't have to have a blog, you don't have to have a business, you don't have to spend every spare minute of your life sewing, crafting, cooking..........you just simply must have passion for the creative and want to connect with other like-minded women.  Sounds good, right?

So far the reviews from those that attended this year (which just took place this past weekend) have been fabulous.  If this is something that interests you, go check out The Creative Connection website and you can see exactly what it's all about.

I think this next year will be a great year for me to attend.......I feel like my business, "The Cottage Mama" is ready.  I'm hoping to participate in the Handmade Market (that is, if they accept me.....fingers crossed).  But whether I'm attending or participating (or both), I think it's going to be an amazing experience! 

So are you planning on attending next year?  I hope to meet some of you all there!

Have a great weekend!

Thursday, September 23, 2010

Posted by Head Fly at 5:02 AM 0 comments
 
today i'm guest blogging over at my friend jade's blog, flip flops & pearls, while she recovers from her amazing trip to new york.  i'm blogging about some southern trends for her "southern september" series.  hop on over and check it out.  make sure you check out the rest of her super-cute blog too!  

CLICK HERE to go to flip flops & pearls.

Wednesday, September 22, 2010

The Cottage Mama Clothing Labels

Posted by Head Fly at 12:49 PM 0 comments

I love my clothing labels.  Yes, I need clothing labels because I sell children's clothing, but even if I didn't sell my clothing I think I would still want my own labels.  There's just something so gratifying about sewing your own label into a completed project......whether it be your kids clothing, a baby gift, a quilt, a fun clutch, ect.

I have had a handful of emails over the last month in regards to where I purchase my clothing labels (which by the way, I am happy to answer because I love hearing from you guys).  I know I've cited it in a few posts, but I thought I would dedicate this post to just clothing labels.


So there are pretty much two options when it comes to purchasing labels for your goods - woven or printed.  I prefer woven as they will stand up to heavy-duty washing and seeing as though I do mostly children's things that is definitely important.  If you sew things such as handbags, quilts, or other items that are washed less frequently then printed might be a fine option for you.

There is a difference in price when it comes to woven vs. printed labels.  Woven are more expensive as the text or image is woven into the label.  Price is certainly something to consider when deciding which option is more appropriate for you.


I purchase my "The Cottage Mama" clothing labels from Fancy Weaver on Etsy.  I went with this company as it came recommended to me by several other Etsy artisans.  I find them to be very reasonably priced and easy to work with.  The only thing to take into consideration is that is will take 3-4 weeks to receive your labels as they are produced overseas. 

My labels are text only.  I chose the background color, text color, label size and the font that I wanted (my tags have two fonts).  This is the most inexpensive option for woven labels.  You can also choose to have a logo (which includes multiple colors), but again then you are driving up the price.  If your logo is very important to you then go for it, but for me, text only is perfect!


So here are some resources for purchasing labels:
Also, if you are interested in making your own clothing labels, you must check out these tutorials from Patchwork Pottery, Allyson Hill and Kojo Designs.


In regards to my size tags, I purchase them from Big Apple Fabrics on Etsy (always love to buy on Etsy)!  Again, I order woven size tags as well due to the durability.

Cottage Mama's Note: Even if you don't sell your items, I highly recommend investing in some little labels - either by purchasing them or making your own.  They don't have to be fancy, just a little something to show that your item was handmade with love.

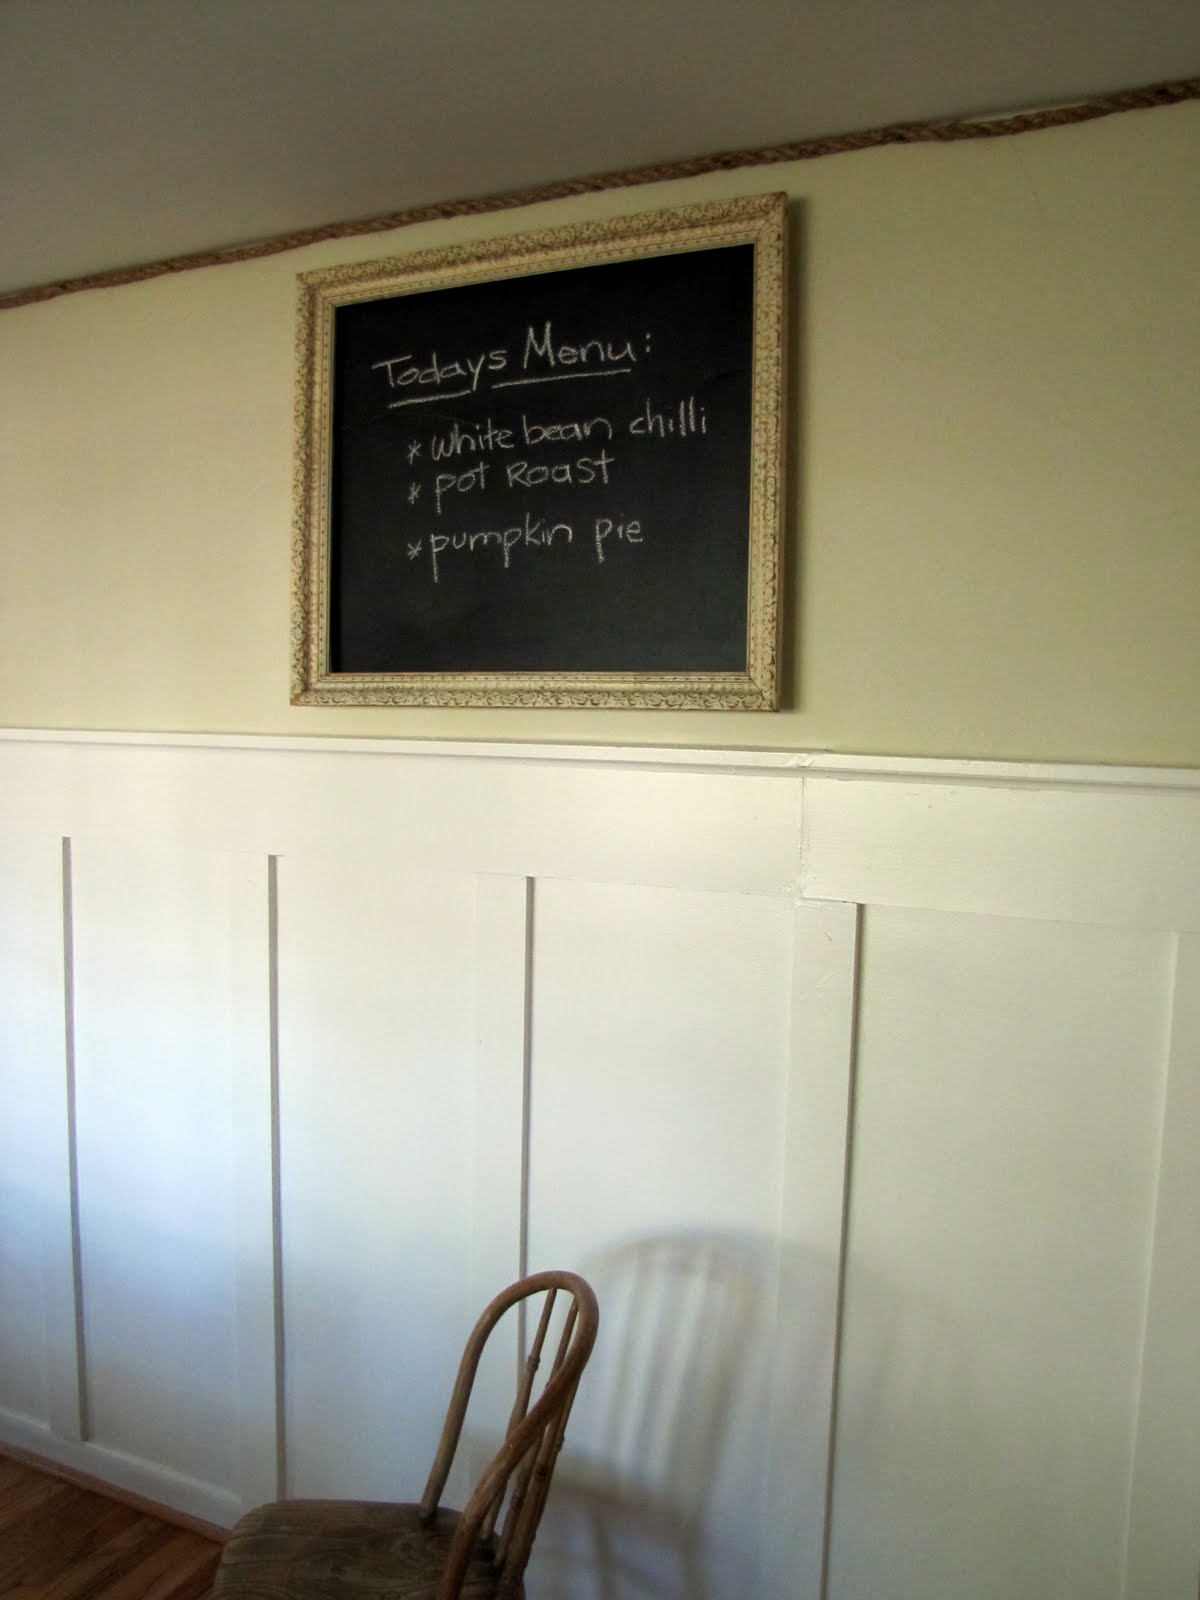
{ D i n i n g R o o m A r t }

Posted by Head Fly at 11:41 AM 0 comments


i painted the chalkboard right onto the wall


and hung a great chippy vintage frame over top
&
i even keep the original hanging wire showing  


it's the perfect addition to my almost finished dining room


Monday, September 20, 2010

{ B e a d B o a r d & B u r l a p }

Posted by Head Fly at 12:49 PM 0 comments
I love how this turned out~
my foyer...


{yes, that's a stain glass owl in my front door, 
don't ask}

- before -


and after again...


I'm so happy with it
visit
Donna At Funky Junk Interiors
for more great projects!

Fall Fabric Pumpkin Tutorial

Posted by Head Fly at 12:21 PM 0 comments

It's really starting to feel like fall here in the Midwest.  We still have our occasional warm day, but for the most part fall is upon us.  Fall is my favorite time of year with all the fun festivals, pumpkin patches, apple orchards.......I truly value the beautiful seasons each year.

Since it finally feels like fall, I think it's time to get out some decorations for around the house.  I wanted to make something for our home that tied in with the season as well as our decor.  Though I tend to use bright colors in my clothing design, my home is decorated in more rich tones....think deep red, green, mahogany and cherry wood.  I came up with these chubby fabric pumpkins and can't wait to put them around the house.  I thought you might like to make some too.........so here's the "how to":

Fabric Pumpkin Tutorial

Supplies:
Fabric pieces - variety of sizes
2 pieces of brown felt
1 piece tan felt
Fiberfill or other stuffing material
Brown embroidery floss
Thick twine
Hand-sewing needle
Sewing Machine
Decorative wire berries (optional)

Directions:


Gather your fabric.  I found these upholstery fabric samples at Joann's for $2.00 a piece.  They were discontinued special order fabrics.  I decided to use decorator fabric because I love the variation in textures and designs, but you could definitely used quilting cotton for this project if you would prefer.


Cut your fabric.  I wanted my pumpkins to be all different sizes since no two pumpkins are ever the same.  Here are some of the measurements I used:
17.5" x 10"
17.5" x 12"
12" x 6"
12.5" x 7.5"
17" x 13"
Basically you are looking to cut out a rectangle shape.


Fold your rectangle, right-sides together.  Stitch down the long-side (side to the right) with a regular straight-stitch.  Then run a gathering stitch around the top and the bottom (leaving the top and bottom OPEN).  Turn right-side out.


Pull the bobbin thread to start gathering one of the ends.  Work the gather until you have pulled it as closed as possible.  If you are using regular cotton this will be much easier.  If you are using decorator fabrics, this can take some time.  You may also consider hand-sewing a large straight stitch with embroidery floss and using that to gather instead of your machine (my thread broke on one of my pumpkins).  Either way will work. 


This is as tight as I could pull my bobbin thread with the upholstery fabric.  Tie your thread ends together and turn it in-side out again.


Place the gathered end in your sewing machine and stitch to close.  You will have to kind of jam the fabric under the foot as it is very thick, but don't worry, your machine can handle it.  You may also choose to hand-sew the opening closed with embroidery floss.


Next fill your pumpkin with fiberfill or whatever type of stuffing you have on hand.


Once you have stuffed your pumpkin, pull the bobbin thread from your other gathering stitch to begin to close the opening.


Close the opening entirely by hand-sewing.


Take your twine and wrap it around the pumpkin (very tightly).  Do this as if you were wrapping a present.  Loop it around, then cross-over, around and cross-over.  You will cross-over at the top and bottom of the pumpkin.  Go back and forth until you have 6-8 sections on each pumpkin.  Finish by simply tying in a knot.

You may need to slide the twine around until you have even look sections - just work it until you like the look.

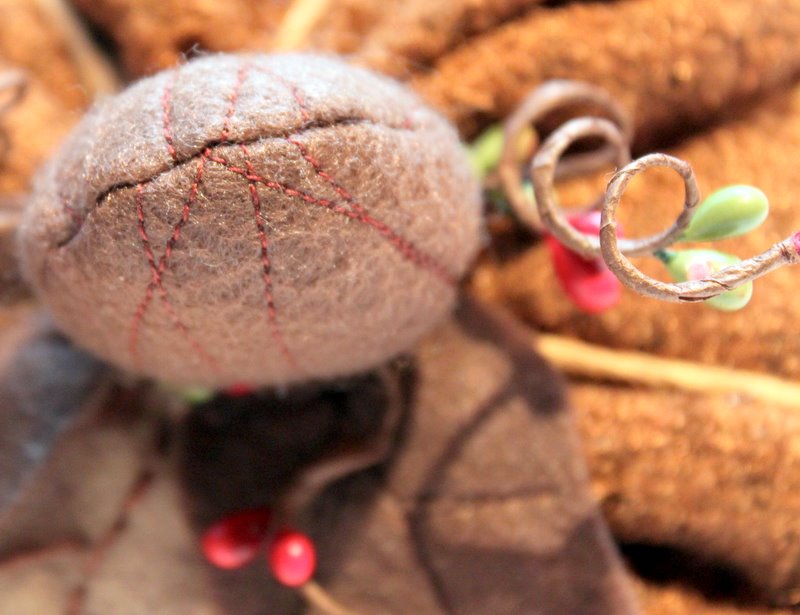
Next you will need to make your stems and leaves.  I made each stem a different size, so just cut out whatever shape you like from your brown felt.  I also machine stitched on top of the felt to add some texture.  Place both stem pieces together (right-sides together) and stitch around the curve (leave the straight-side open).  Turn right-side out.


Suff your stem with fiberfill.


Cut out two to three leaves per pumpkin.  I did mostly brown leaves and a couple tan ones.  Again, I machine stitched veins onto the brown felt with brown thread.  This is your opportunity to be creative......cut your leaves out in any shape or size that you like.  Mine were all different.


Next hand-sew your stem and leaves to the top of each pumpkin.  There is no special technique here.  Just place the leaves where you like and stitch away.


You can certainly skip the stitching on the stem and the leaves, but I think it adds a more realistic feel to the pumpkins.


For a final finishing touch, I took a bunch of deep red and green berries and added them to the top of each pumpkin.  This was just one bunch that I purchased at Joann's.  I cut the bunch apart and wrapped two wire pieces around each stem.  To make the curls, wrap the wire around a pen or pencil.


On a couple of the tan leaves, I hand embroidered some detail.  I like the contrast between the tan leaves and the brown ones.  You could hand-embroider all of the leaves or machine-stitch all of them......again, it's up to you.


And there you have it - a family of festive fall fabric pumpkins!


They are just so cute, don't you think?  I could just squeeze them!  Well, I won't, but my daughter Savannah already did......she gave each one a hug and said, "I love you pumpkins!".

Happy Fall!

Cottage Mama's Note:  Linking to the following here.
Related Posts Plugin for WordPress, Blogger...
 

home appliances Template by Ipietoon Blogger Template | Gadget Review