Showing posts with label man cave. Show all posts

Monday, December 5, 2011

{ Sometimes things don't work }

Posted by Head Fly at 4:57 PM 0 comments
no matter how much you L O V E it, it just doesn't work.


My Pop-pop gave my siblings and I this pin ball machine in the early 70's.
I love the colors, the vintage look, the idea of having a pin ball machine in your house, everything.
But, I just can seem to get it to work in this room.


Don't you agree?
The Dan cave is coming together, but I just feel like I'm forcing the pin ball machine on this room.


But it's better than this, right?


May be after we paint the basement, I'll transfer it to there.


Saturday, November 5, 2011

{ Girlin' up the Dan-Cave }

Posted by Head Fly at 7:02 AM 0 comments
sorry Danny...
I just had to add this flower embellished pillow to the Dan-Cave.


And I snuck in a few other patterned pillows too.
(since then, there's been a moratorium put on throw pillows in this house,
who ever heard of too many pillows? silly men).


It's a long way from when we first laid eyes on this room...


Wheels have been added to this trash find to create roll up bench seating when we have company.


And this little lady will soon be covered in coffee bean sacks.


The room is really taking on a "lodgey" kinda cozy feel.

Tuesday, September 27, 2011

{ Restoration Hardware Knock - Off }

Posted by Head Fly at 4:37 PM 0 comments
Ahh, Restoration Hardware...
your tea stained burlap,
 your salvaged wood,
your weathered oak,
how I love you.
But, I don't love your prices.

Concrete Rectangular Dining Table

Love this concrete topped table.
(although I thought it was a weathered metal when 
I first saw it - so we're goin' with that thought)

Remember our Man-Cave?
and this?


well, I didn't have the $3,325. to shell out to R.H.
So I improvised.

thanks Martha.

with a little dab of this rubbed over top 
of the metallic paint, to gives it a more
weathered look.

and the make-shift pine bar top became this...


it's much better now.
So, what was once a stand-in top 'til we
had more money to purchase something else,
has become a conversation piece and more than just a stand-in
in the Man-Cave.


I added metal brackets to the corners for more of the "Restoration Hardware feel".


linking to -

The Shabby Nest


good one

Saturday, September 17, 2011

{ Yardstick Staircase }

Posted by Head Fly at 10:44 AM 0 comments
if you work in enough 5 minute long intervals,
you will eventually complete a project...
well, complete is a pretty strong word.

there's still staining of the stairs to do, 
and adding some trim edges to the left and right on the risers, 
and may be a top trim as well...

but who has the patience for all that when I can just download the
mostly finished photos and have all of you "eww & ahh"
and move my hyper brain onto the next project?

are you with me?
thought so.
so here it is...


a few weeks ago it looked like this - 


I wasn't exactly sure of my plan for the steps, 
but, I knew I wanted something different.


Linky this idea to 


Wednesday, July 13, 2011

{ Updates in the Man Cave }

Posted by Head Fly at 7:47 AM 0 comments
the { M a n * C a v e }is coming along.
It definitely needs more seating.
But in the mean time, here are some simple &free
updates I've added.


We needed something on the windows to control the light.
So, surprise!, I used drop clothes.
There is an added little strip of brown paint trimmed along the fold.


the curtains are on rings for easy g l i d e .


I found this table in the trash yesterday on my way to pick up the kids at camp.
How could I not stop?
I had just enough green spray paint left to cover it, 
than sand it off like a mad women.
It's perfect for here.


The marble top has a rosey hue to it
{not a fan}
so I flipped it over to the raw side.
Much more Man Cave that way


and no, it doesn't bother me that there
is writing all over the marble.


All we need now is an area rug...

Tuesday, May 31, 2011

{ Man Cave Updates }

Posted by Head Fly at 4:14 AM 0 comments
not furnished yet, 
but I couldn't help to accessories it a bit...

this is the overall look
Everything was chosen with Danny in mind,
 The Dan Cave

The wall color is Koala Bear, by Behr, 
but it resembles the color eggs one of our chickens lay.


I know, pretty empty , right?
But, it's come along way since looking like this...


and then, this


Yikes.

so, without further ado,


I tried to accessorize with Danny's things, so it felt more 
Danny, than Denise.
{bear with me people, wait 'til he hangs up the furs!}


this is a shot of behind the bar.
I hung a shelf for his mugs and other what-nots.
{I know I'm missing a switchplate cover}


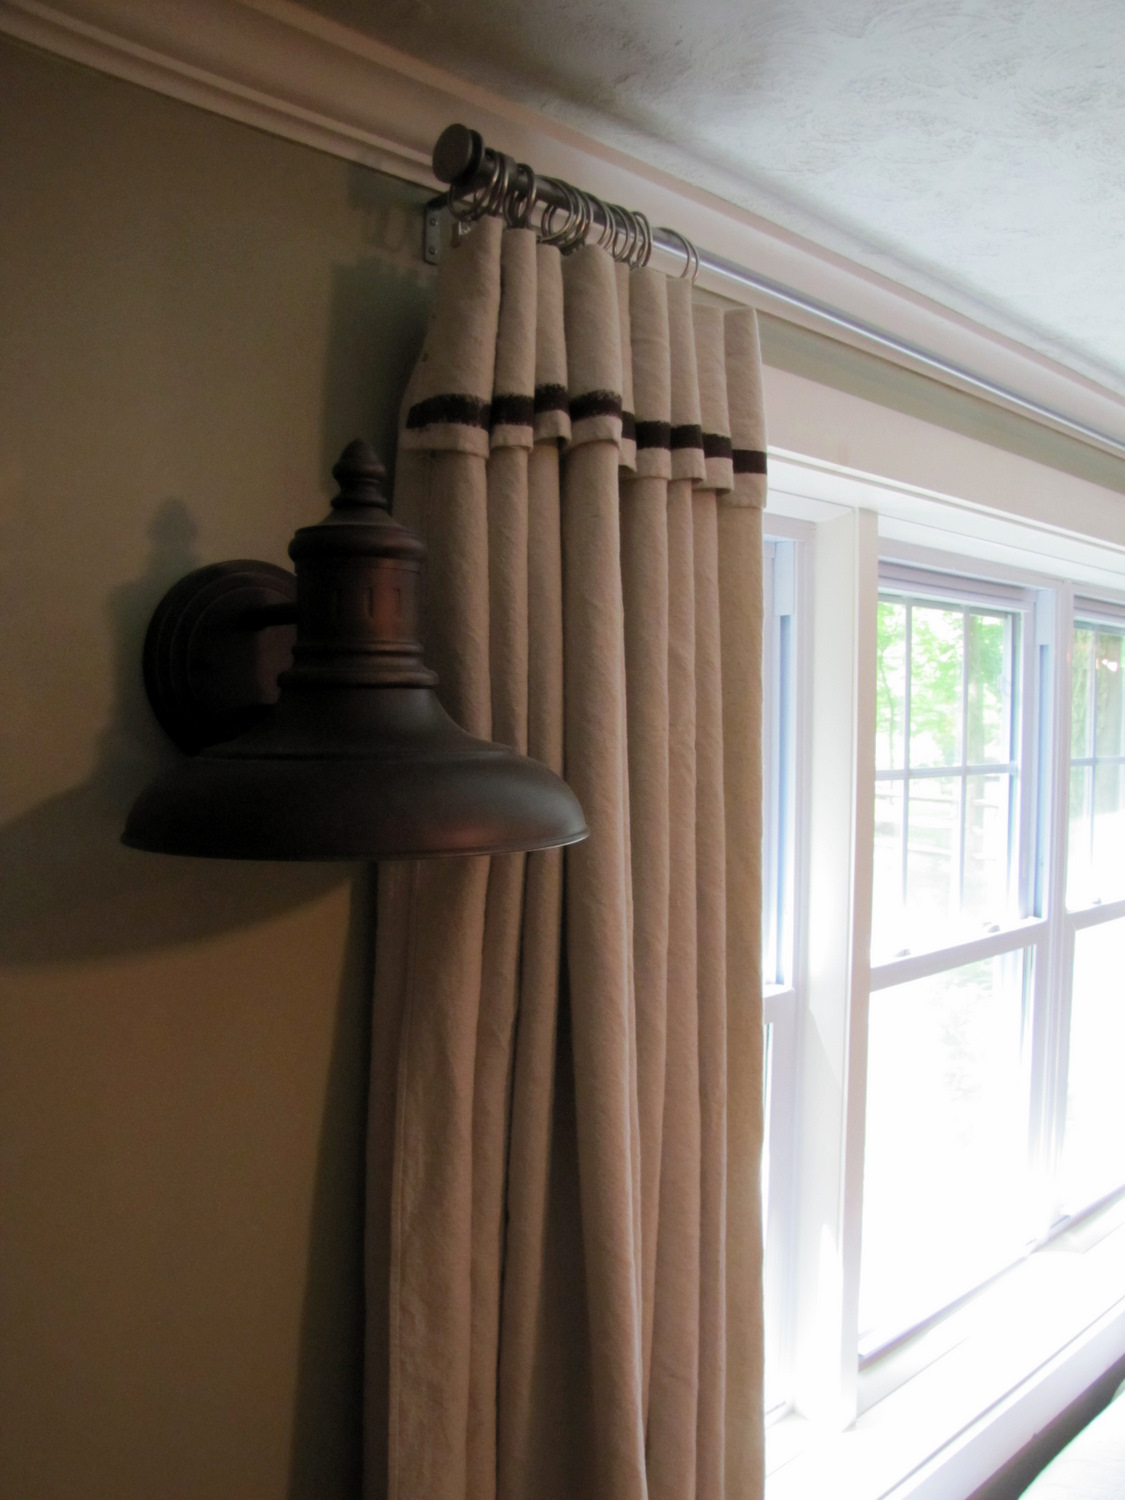
love the vintagey ceiling lights


the sconces beside the window are outdoor light fixtures from Home Depot
I always like the outdoor fixtures better than the indoor ones.


an old red chest I found on the side of the road, and the silver trophy cup as well,
believe it.


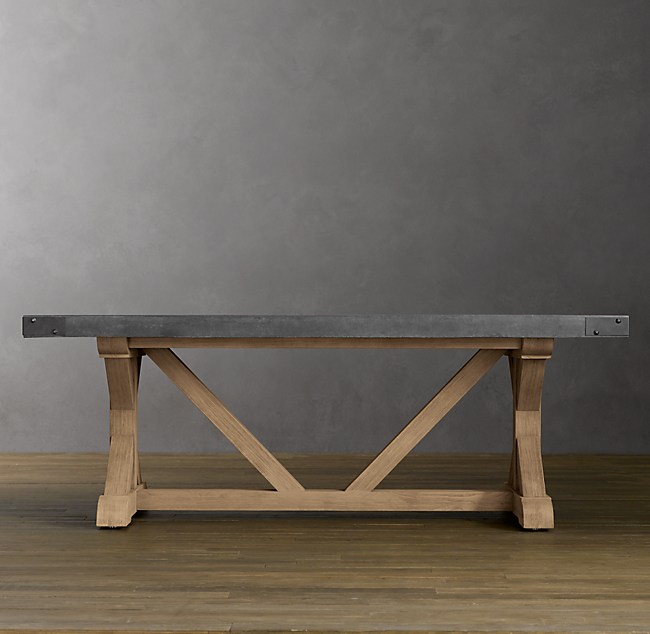
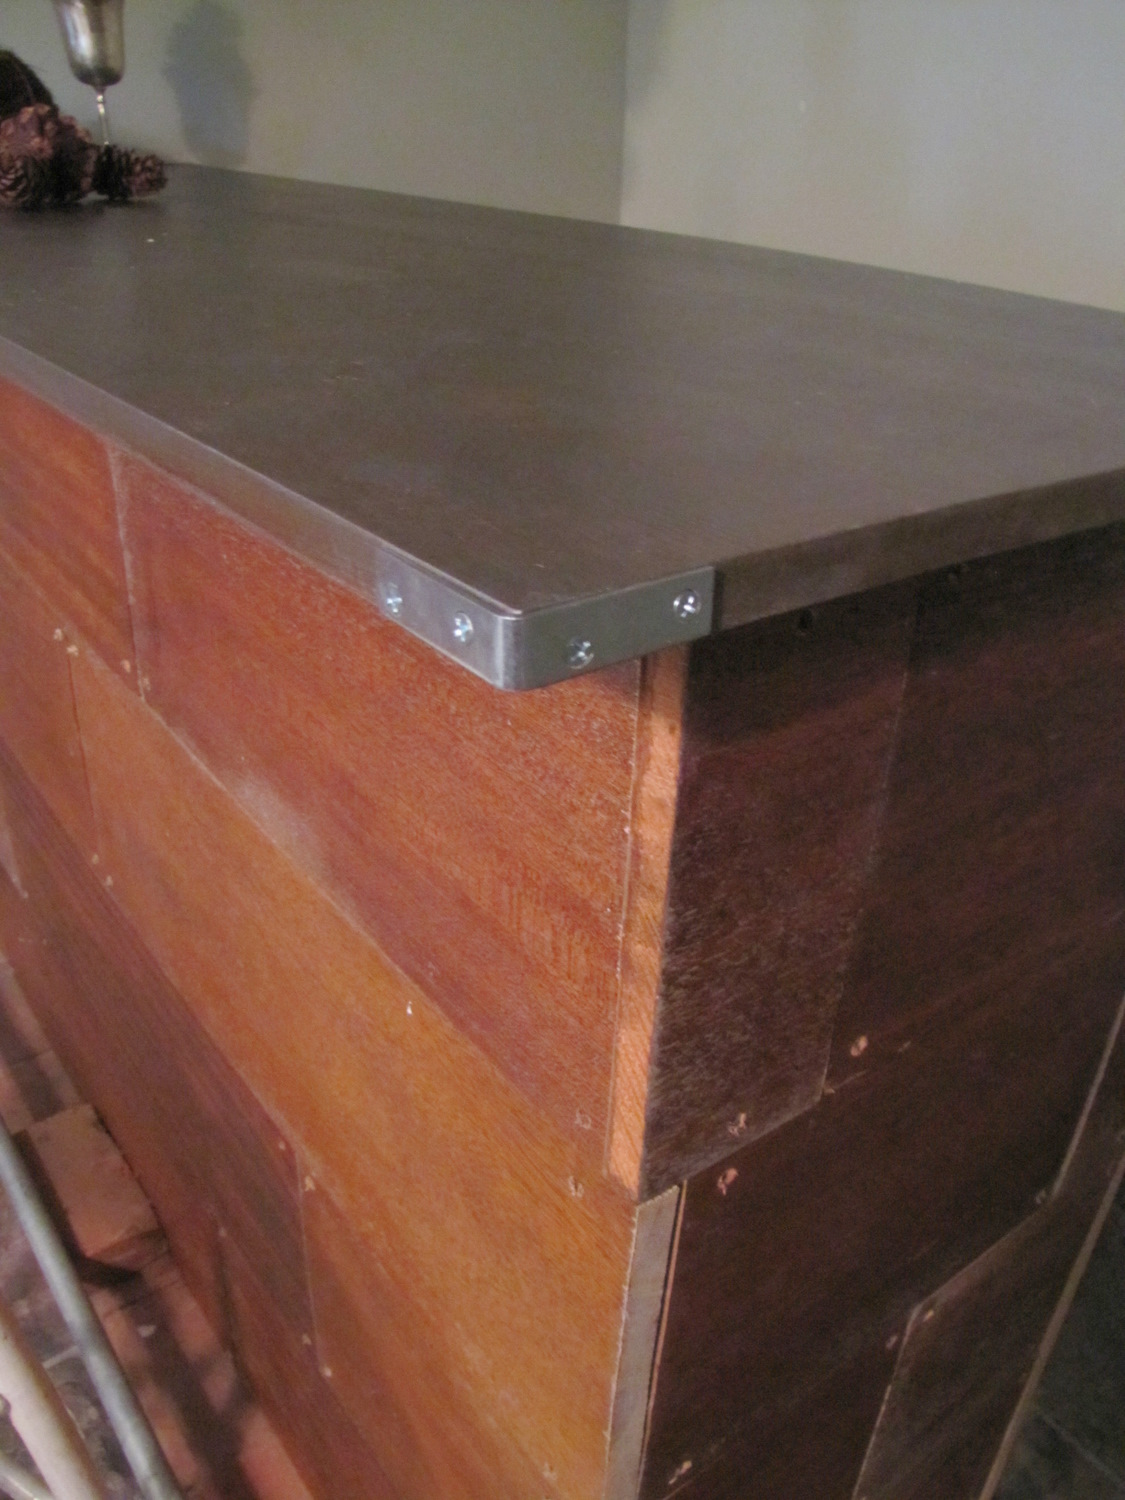
the bar top is not in yet.
it will be galvanized steel...eventually
{ehh hemm, Matthew}


here's a close up of the bar.  the facade is made of reclaimed lumber.


and the foot rest from plumbing pipes and 
re-purposed bricks from a cousins house.
I love the slate with all the wood and metal.


hidden gum balls.
I thought the gum ball machine would be a cute addition to the room, 
especially with its price tag of only 5 smackers.
But, Jonas proved me wrong.
It's not so cute when a 2 year old is drooling multi-colored spit, 
'cause he can't keep it in his mouth since his mouth is packed with gum.
So, now they're kept away from little fingers.


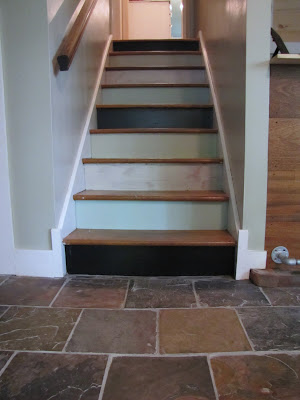
I'm showing you the stairs half way through a project.
I used 4 different colors on the risers.  
Each color was a left over from colors used throughout the house.
I'm planning on some thing else for the risers too, so 
stay tuned.


Related Posts Plugin for WordPress, Blogger...
 

home appliances Template by Ipietoon Blogger Template | Gadget Review